
Installing your NXG Series Timeclock
Please use the below instructions and photo examples to help with installing your NXG Series clock.
You will need:
- Suitable location for installing the timeclock.
- Access to your network, either via Wifi or Ethernet. If using Ethernet and you have PoE (Power Over Ethernet), you will NOT need to use the included power supply.
- Some basic hand tools, drill, etc.
Unboxing
- Timeclock
- Mounting Bracket
- Power Supply
- Mounting screws / wall anchors
- Plate locking keys
Clock
Shown is a G2+ with biometric reader.
Mounting Bracket
Keys are taped to the inside of the bracket.
Power Supply and Mounting Screws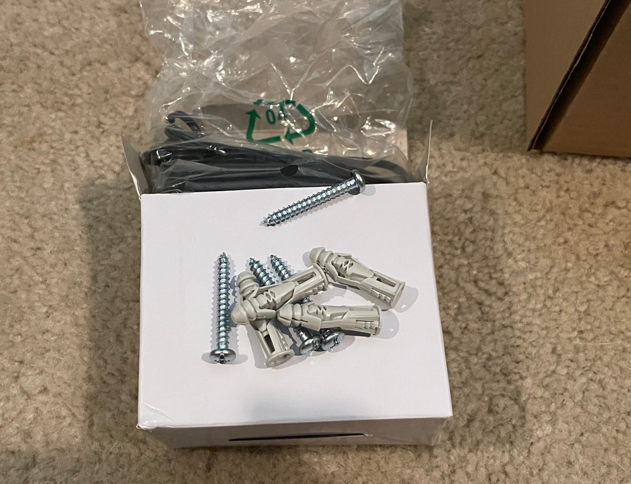
Depending on the surface you are mounting to, the anchors may not be necessary for installation.
Installing the Mounting Bracket
There are 4 mounting holes in each corner. Align the bracket level on the surface you wish to mount to. If you can, you can use the pre-punch access hole in the back to run ethernet and / or your power supply. Otherwise there is a pre-drilled hole at the bottom of the bracket.
Already attached to the mounting bracket are 2 pre-installed screws that the clock will attached to.
Mount the bracket securely to the wall or surface you are installing to. Using the keys, "unlock" the lock-bar to prepare to hang the clock.
If you are using the pre-drilled hole at the bottom of the bracket to run the cables for power supply and ethernet, do this BEFORE attempting to hang the clock on the bracket.
Connecting the clock
Connect the power supply and ethernet cable. If you are utilizing a PoE connection, you do not need to connect the power supply.
The clock has 2 eye holes at the back and will hang from the pre-installed screws on the bracket.
Hanging the clock
Starting from the left side, align the screws in the bracket with the eye hole in the clock. There are 2 metal tabs from the bracket that go into the opening on the back of the clock. Once aligned to both eye holes, you will push (slide) the clock down to get it into place.
You may have to press a little firm, but use caution not to force it into place. You will feel it click once in place. You can now turn the key counter-clockwise to lock the clock to the mounting bracket. You can remove the key if you want, though not necessary.
Powering on the clock for use
Once you have the clock mounted to the bracket and locked with the key, you can now connect the power supply if you are using it. There is no on button, as soon as you plug the power supply in it will turn on.